TMPH6K Play Store Repair Procedure
① First, download [RepairStoreH6.apk (hereinafter referred to as .apk file)] from [ Play Store Repair File Download] at the bottom of the TMPH6K product page , and save the .apk file to a USB memory or SD. Please copy it to the card .
Also, connect the TMPH6K to a LAN cable to make the Internet available.
② Insert the SD card and USB memory containing the .apk file into TMPH6K.
Please select "FileBrowser" on the home screen that is displayed when the media player starts up, using the remote control and mouse.
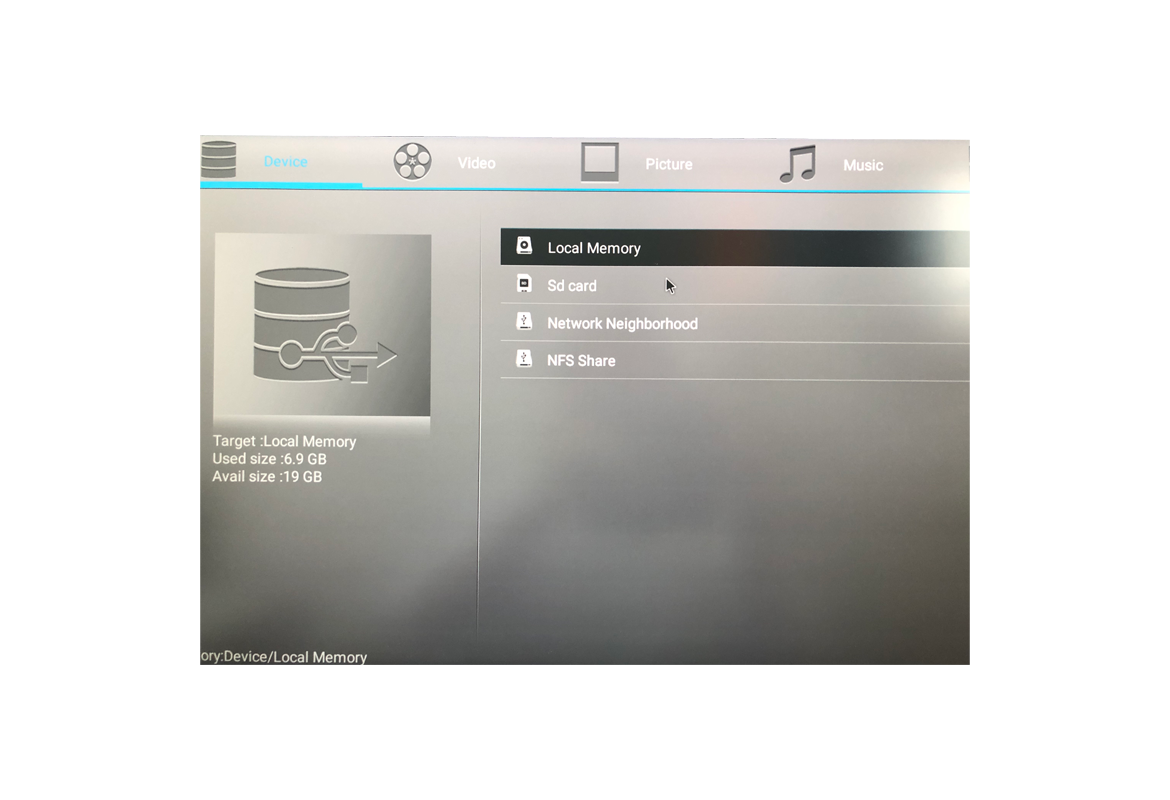
③ As shown in the figure below , the device name is displayed in "Device" , so select the memory containing the .apk file . (The image has .apk file in SD card, so select Sd card. ).
④ When you select the memory that contains the .apk file, the item [RepairStoreH6.apk] will appear inside, so select the .apk file. (Please see figure below)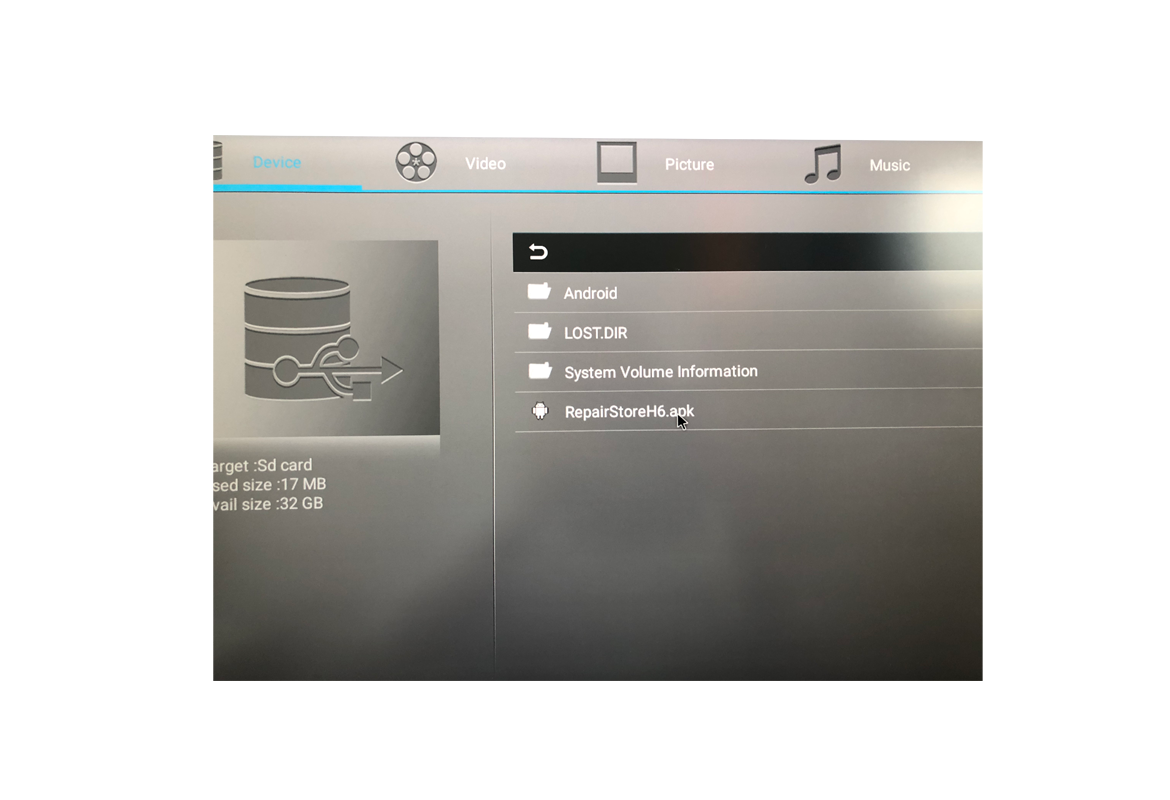
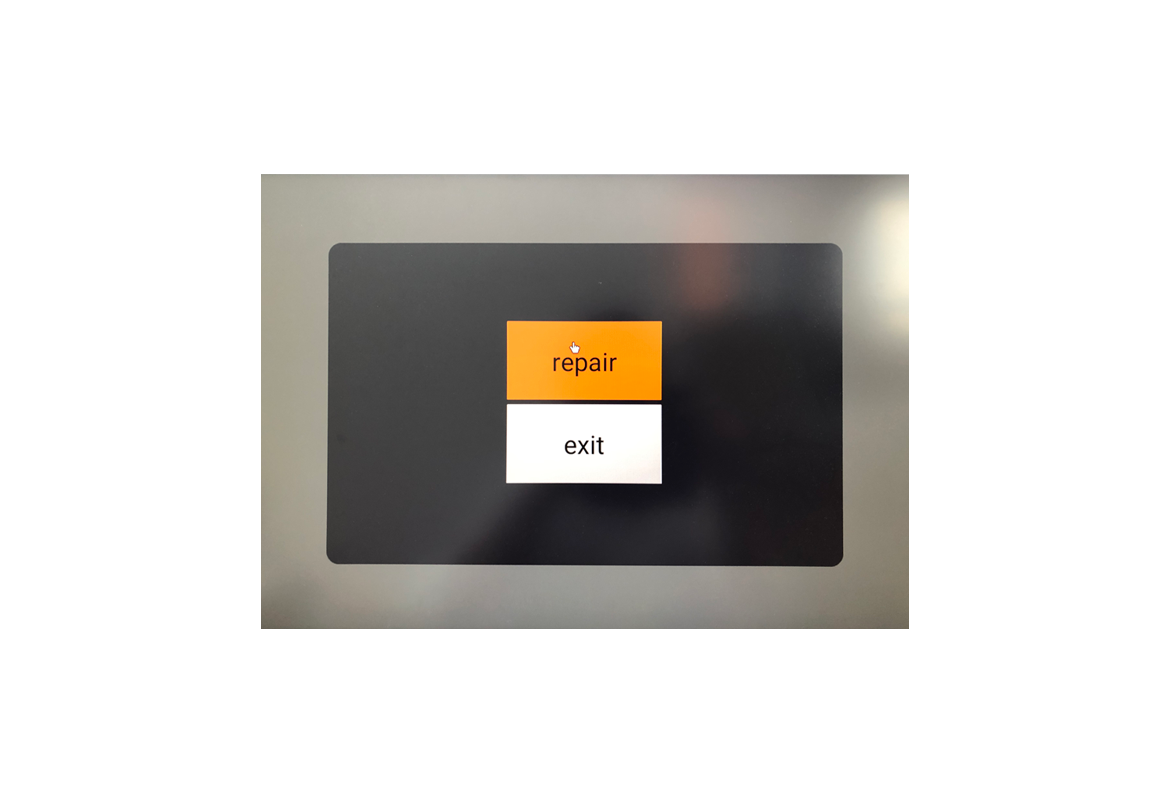
⑦ When you press the open button, [repair] and [exit] will be displayed as shown in the figure below. Select [repair].
⑤ When you select the .apk file, the screen as shown below appears. Select [Install] at the bottom right of the screen.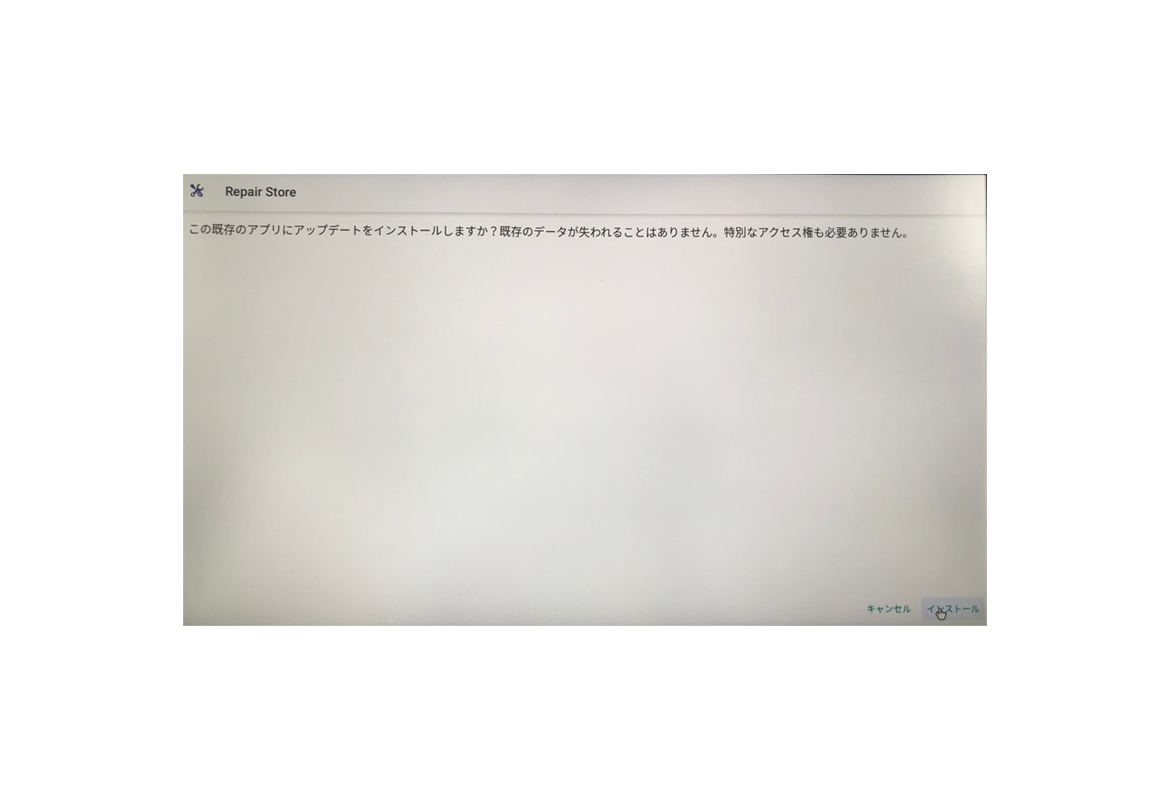
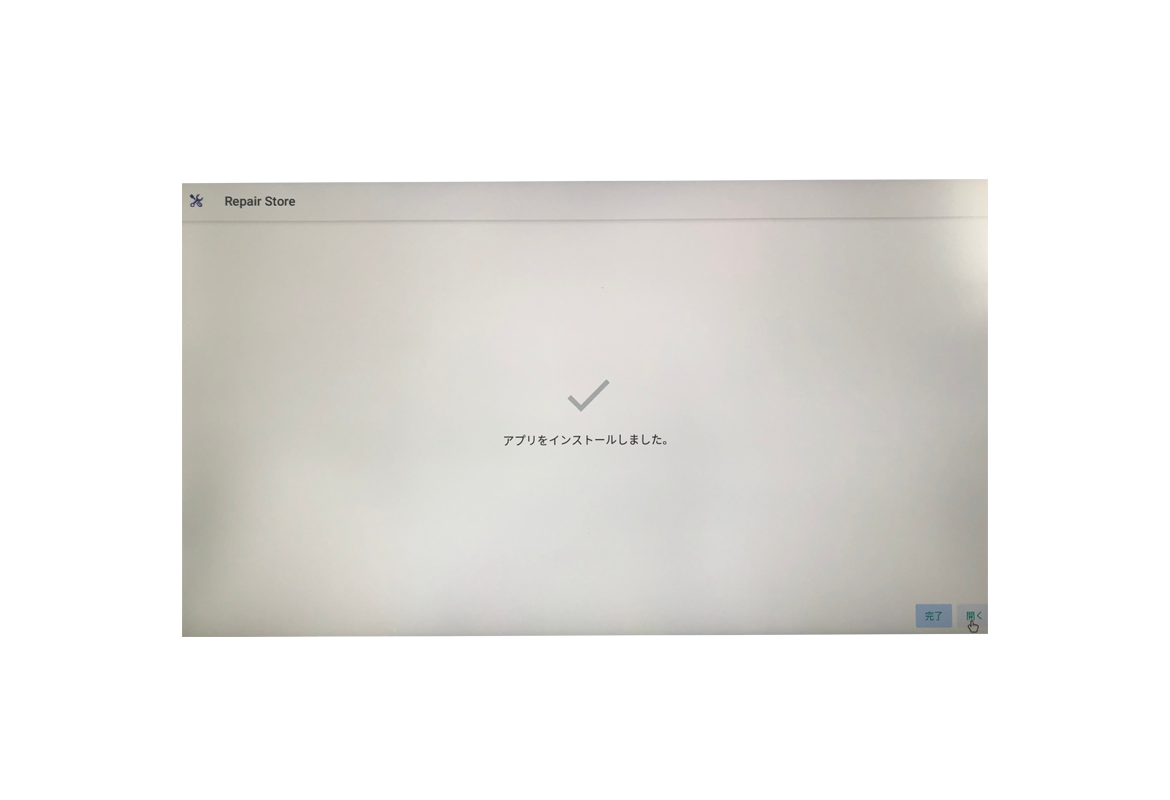
⑥ After pressing the install button for a few seconds, the message that the application has been installed is displayed as shown in the figure below. Select [Open] at the bottom right of the screen.
*Note: If you press [Complete] on the left side of [ Open], repair cannot be performed normally.
Should you press Finish, repeat the procedure from step ④.
⑦ When you press the open button, [repair] and [exit] will be displayed as shown in the figure below. Select [repair].
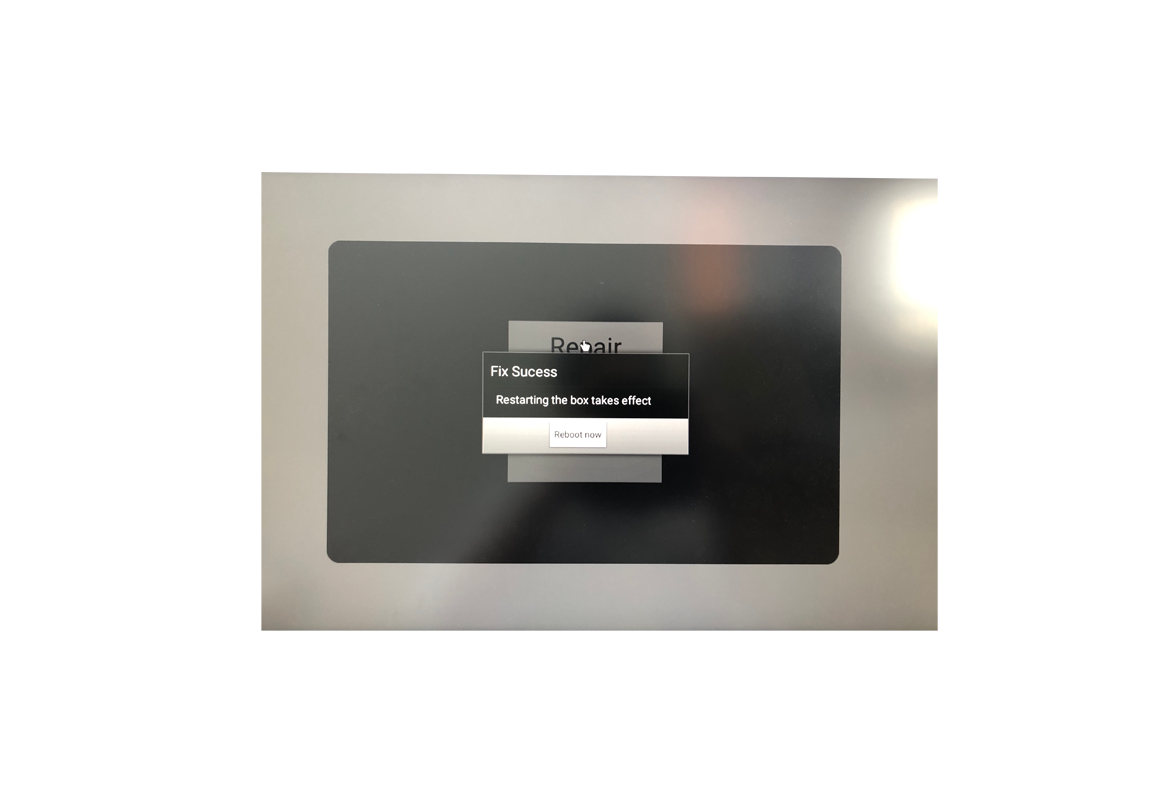
⑧ When repair is selected in step ⑦, when [Fix Success] is displayed as shown in the figure below, an alert box will appear then click the [Reboot now] button.
If you select it, it will be restarted automatically and the work will be completed.
The above procedures are the Play Store repair procedure for TMPH6K.